
Last updated: October 4, 2026
What Makes a Recipe Actually Beginner-Friendly
The recipes below share three traits: few ingredients, no specialty equipment, and forgiving
technique, meaning small mistakes in timing or measuring won’t ruin the batch. If a recipe calls
for chilling dough, piping intricate shapes, or precise oven timing to the minute, it’s not
included here, that’s a second-batch project, not a first one.
Classic Sugar Cookies
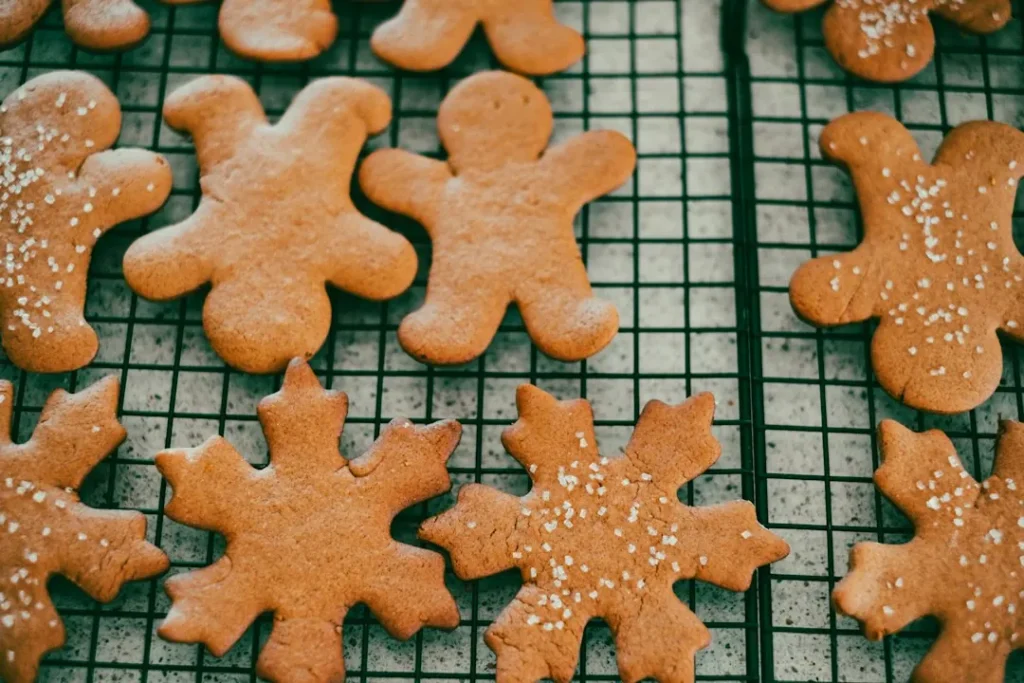
Cream butter and sugar, add egg and vanilla, then mix in flour, baking powder and a pinch of
salt. Chill the dough for 30 minutes (this step matters, skipping it makes the dough hard to
handle), roll, cut into shapes, and bake at 350°F for 8-10 minutes until the edges just start to
turn gold. Decorate once fully cooled.
No-Chill Chocolate Crinkle Cookies
Mix melted chocolate, sugar, eggs and a little oil, stir in flour and baking powder, then roll
the dough balls in powdered sugar before baking. The cracks that form as they bake are the whole
point, there’s no piping or decorating skill required, and no chilling step to plan around.
Peanut Butter Blossoms
Mix peanut butter, sugar, butter and egg into a simple dough, roll into balls, bake for 8
minutes, then immediately press a chocolate candy into the center of each one while they’re still
warm. Three ingredients most kitchens already have, and the “press a candy in the middle” step
makes this a good one to bake with kids.
Essential Equipment and Ingredients
You do not need a professional kitchen to bake good cookies. A short list of basic equipment will cover nearly every recipe in this guide: a set of measuring cups and spoons (or a kitchen scale), two mixing bowls, a wooden spoon or hand mixer, two baking trays, parchment paper, a wire cooling rack and a spatula. A rolling pin and a couple of cookie cutters are useful for sugar cookies, but a drinking glass will cut a perfectly good round shape if you do not have them.
For ingredients, a well-stocked pantry for cookie baking includes all-purpose flour, granulated and brown sugar, baking powder and baking soda, salt, vanilla extract, butter, eggs and a bar or bag of chocolate. With these, you can make a wide range of recipes without a special trip to the shop.
Measuring and Mixing Tips That Make the Biggest Difference
Most failed cookies come from small mistakes in measuring and mixing rather than from a bad recipe. A few habits fix most of them.
- Measure flour correctly. Spoon flour into the measuring cup and level it with a knife rather than scooping directly from the bag, which packs in too much and makes cookies dry. If you can, weigh your flour.
- Use softened, not melted, butter unless the recipe says otherwise. Softened butter should hold a slight dent when pressed, but not be greasy.
- Do not overmix. Once the flour is added, mix only until combined. Overmixing develops gluten and gives tough cookies.
- Use room-temperature eggs. They blend more evenly into the dough.
- Read the recipe completely before you start. It sounds obvious, but it prevents most surprises.
Baking and Cooling: Getting the Texture Right
Ovens vary a great deal, and the number on the dial is only an approximation. An inexpensive oven thermometer is a worthwhile purchase if your cookies keep coming out too dark or too pale. Always preheat fully before the first tray goes in, and bake one tray at a time on the middle rack for the most even result.
Leave space between cookies, usually about two inches, so that they can spread. Use a cool tray for each batch, since placing dough on a hot tray makes it spread too fast. Once baked, let the cookies rest on the tray for a couple of minutes, since they are fragile when hot, and then move them to a wire rack. Do not decorate or store them until they have cooled completely.
If cookies spread too much, the dough may be too warm, the butter too soft or there may not be enough flour. If they stay too thick, the dough may be too cold or contain too much flour. A short chill in the refrigerator often fixes spreading, and flattening the dough balls slightly before baking fixes thickness.
Simple Decorating Ideas for Beginners
Decorating does not have to be elaborate. A few simple techniques make cookies look festive with very little skill.
- Sprinkles before baking. Press them gently into the dough just before it goes in the oven, so they stay in place.
- A simple glaze. Mix powdered sugar with a small amount of milk or lemon juice until it is thick enough to coat a spoon. Spread it with a knife or dip the top of the cookie in it.
- Melted chocolate drizzle. Use a spoon or a small plastic bag with a tiny corner snipped off.
- Colored sugar. Dip the top of a glazed cookie into a shallow dish of colored sugar.
- Stencils. Place a paper doily or stencil over a cooled cookie and sift powdered sugar on top for a neat pattern.
Let each layer of glaze set before adding another, and keep a damp paper towel nearby to wipe your fingers.
Storing, Freezing and Gifting Your Cookies
Most baked cookies keep well in an airtight container at room temperature for several days, and keeping different types in separate containers prevents flavors from mixing and crisp cookies from going soft. A slice of bread or an apple wedge in a container of soft cookies can help keep them moist.
For longer storage, freezing is very effective. Many cookie doughs can be frozen as portioned balls, so you can bake a few at a time, and baked cookies can be frozen in a sealed container with parchment between the layers. Freeze iced cookies uncovered on a tray first, so that the decoration hardens, then pack them.
Cookies make a lovely, inexpensive gift. A tin or box lined with parchment, a few varieties together and a handwritten label with the date and ingredients works well, especially because ingredient information helps people who have allergies. Try to deliver them within a few days of baking.
Troubleshooting Common Cookie Problems
When something goes wrong, it is usually fixable on the next batch. Here are the problems beginners meet most often.
- Cookies spread into thin, greasy discs: The butter was too warm or the dough was not chilled. Chill the dough for 20 to 30 minutes and use a cool tray.
- Cookies are hard and dry: Too much flour or too long in the oven. Measure carefully and take them out when the edges are just set.
- Cookies are cakey: Too much flour, too many eggs or too much baking powder. Check your measurements.
- Cookies burn on the bottom: The tray may be too dark or too low in the oven. Use a lighter-colored tray and parchment, and move to the middle rack.
- Cookies stick to the tray: Use parchment paper or a silicone baking mat, and let them cool for a couple of minutes before moving them.
Bake a single test cookie before putting the whole batch in the oven. It takes a few extra minutes, and it tells you whether you need to adjust the dough or the time.
Frequently Asked Questions
Can these be made without a stand mixer?
Yes, a hand mixer or even a wooden spoon and some extra elbow grease works fine for all three recipes, none require prolonged high-speed beating.
Which of these freezes best?
Sugar cookie dough freezes well raw (wrap tightly, thaw before rolling). Baked cookies of all three types freeze fine for up to 2 months in an airtight container.
What’s the most common mistake beginners make?
Overbaking. Cookies continue to firm up as they cool on the tray, so pulling them when they look slightly underdone at the center usually gives a better texture than baking until they look fully set in the oven. For a related guide, see how to build a gingerbread house that doesn’t collapse. You might also like our how to host a cookie exchange.