
Last updated: October 4, 2026
Plan the Layout Before Buying Anything
Measure the actual areas you’re lighting (roofline, bushes, a tree, a walkway) before buying
lights, guessing quantities is the single biggest cause of running short mid-installation. Add
10% extra to any measurement for overlap and connections.
Roofline and Eave Lighting
C9 or C7 bulb strings (the larger, classic bulb style) read best from a distance on a roofline,
while smaller mini-lights suit closer, smaller areas like window frames. Use clip-style gutter
hooks rather than nails or staples, they’re faster to install and don’t damage the roofline.
Trees, Bushes and Walkways
Wrap trees and bushes rather than draping, working the strand around branches from the inside
out gives a fuller look than lights just sitting on the surface. Pathway lighting works best as
low stake lights spaced evenly rather than a continuous strand, which is a tripping hazard.
Electrical Safety Basics
Only use lights rated for outdoor use, indoor-only strings aren’t weatherproofed and are a
real fire and shock risk outside. Use a GFCI-protected outlet or extension cord, don’t
overload a single outlet with more than the manufacturer’s stated maximum connected string count,
and inspect strands each year for frayed or cracked wiring before hanging them.
Choosing the Right Lights: LED, Incandescent and Solar
Outdoor lights come in several types, and each has strengths. LED lights use far less energy, run cooler and last longer, which makes them the most popular choice. They are available in warm white, cool white and multicolor. Traditional incandescent bulbs have a warm glow some people prefer, but they use more power and can be more fragile. Solar lights are convenient for places without outlets and are easy to install, though their brightness depends on how much sun they get during the day.
Check that any lights are labeled for outdoor use and look for a safety certification mark relevant to your country. Compare the length, the bulb spacing and the number of strands that can be connected, and buy a little more than you think you need.
Design Ideas and Themes for Outdoor Displays
A clear plan produces a better display than a random scattering of lights. A few popular approaches include:
- Classic warm white: outlines the house with white lights for a timeless look.
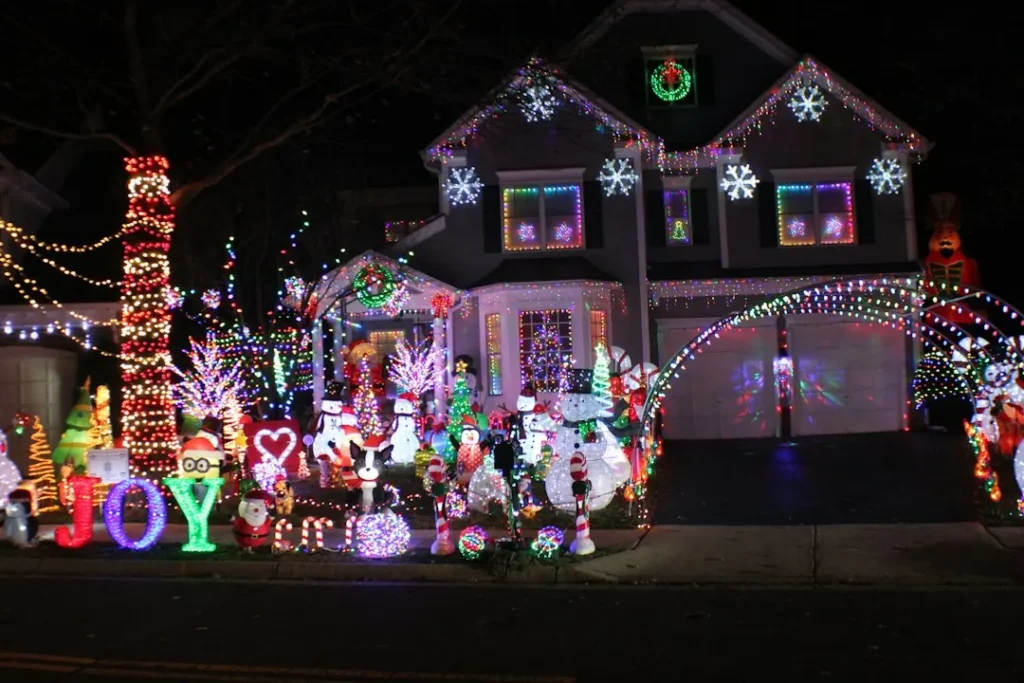
- Multicolor and nostalgic: bright, mixed colors on the roofline and trees.
- Minimalist: a single wreath, a lit tree and a simple string at the door.
- Themed displays: a winter scene with snowflakes, stars or animated figures.
Whatever you choose, aim for balance. Light the architecture first, such as the roofline and windows, then add focal points like a tree or a doorway, and finish with accents. Too many competing elements can look chaotic.
Step-by-Step Installation Guide
Work in daylight and test every strand on the ground before hanging it. Plan your route for the cords so that they run from the outlet along the least visible path. Start at the outlet end and work outward, attaching lights with clips rather than nails. Keep strands taut but not stretched.
- Test each set of lights, replacing damaged bulbs or discarding faulty strands.
- Measure and mark where lights will go.
- Attach clips, working from the lowest point and moving up.
- Connect strands according to the manufacturer’s maximum.
- Plug in and check from a distance, adjusting as needed.
If your display needs a ladder, have another person hold it, and never work in wet or windy weather.
Ladder and Working-at-Height Safety
Falls are one of the most common causes of injury during holiday decorating. Use a sturdy ladder rated for your weight plus equipment, place it on level ground and keep three points of contact at all times. Do not overreach, and move the ladder instead. Wear shoes with good grip, and avoid decorating if it is icy or windy. For high or complex areas, such as a steep roof, consider hiring a professional.
Keep ladders away from power lines and overhead cables, and turn off the lights at the outlet before you start handling strands.
Weatherproofing, Timers and Energy Use
Outdoor connections are the weak point of any display. Use weatherproof covers for plugs and connections, and keep them off the ground where water can pool. Tape or clip connections so that they do not pull apart in the wind. A heavy-duty outdoor timer saves effort by turning the lights on at dusk and off at a set hour, and LED lights keep running costs low.
Check the display periodically during the season for loose clips, dead sections or damage from wind and animals, and replace faulty strands promptly.
Taking Down and Storing Your Lights
Take lights down on a dry day, and remove them gently to avoid breaking bulbs or wires. Wind each strand around a piece of cardboard, a reel or a spool to prevent tangles, and store them in a labeled, sealed container in a dry place. A little care now means a much easier setup next year, and you will discover which strands need replacing before the next season begins.
Frequently Asked Questions
How much extra should I buy beyond my measurements?
About 10% more than your measured length accounts for overlap, corners, and connections without leaving you short mid-project.
Can indoor lights be used outside if it’s a covered porch?
Not recommended. Outdoor-rated lights are specifically weatherproofed against moisture and temperature swings that indoor strings aren’t built for, even in a covered area.
How many light strings can safely connect end to end?
This varies by product, always check the manufacturer’s stated maximum on the packaging rather than guessing, exceeding it is a real fire risk.